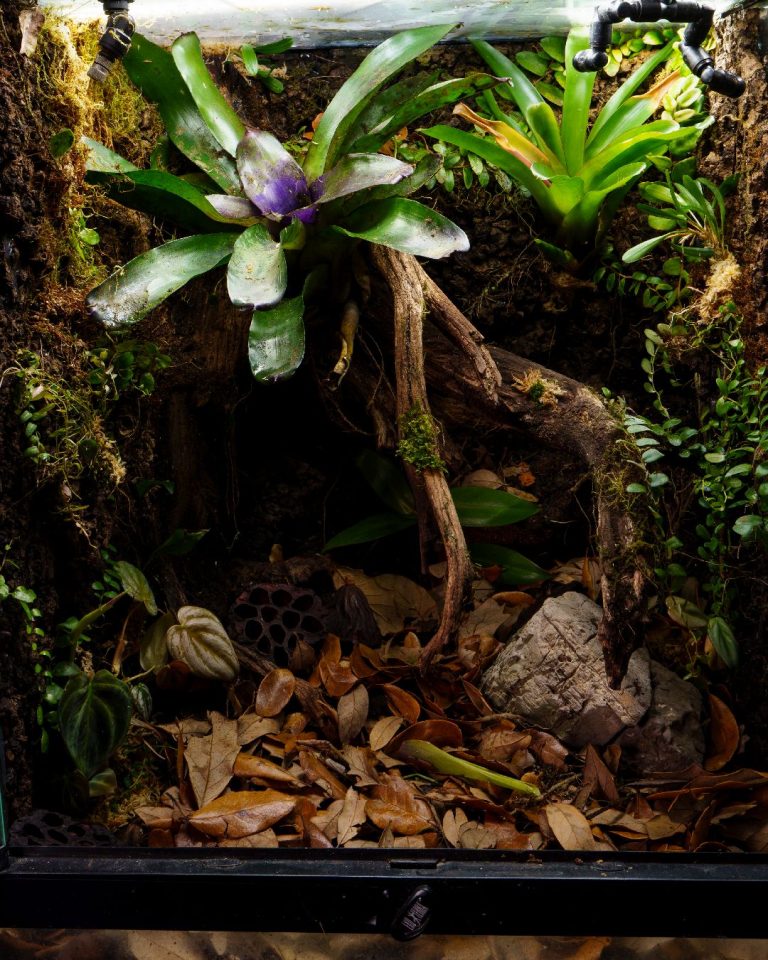
Leaf litter plays a crucial role in the natural ecosystem of vivariums, offering vital benefits like providing shelter, creating microhabitats, and contributing to the overall aesthetics of the enclosure. However, using leaf litter in vivariums does have the potential of introducing harmful pathogens, fungi, or pests. Sterilizing leaf litter before introducing it to your vivarium is essential for maintaining a healthy environment for your plants and frogs. In this article, we will explore the importance of leaf litter sterilization, methods for achieving it, and why it should be part of your vivarium maintenance routine.
Why Sterilize Leaf Litter for Vivariums?
Preventing the Spread of Pests and Pathogens
Leaf litter from the wild can harbor a variety of pests, bacteria, fungi, and parasites that may be harmful to the delicate balance of your vivarium. Even when you buy leaf litter from trusted sources it’s a good idea to sterilize leaves prior to using them in your vivarium. Introducing unsterilized leaf litter can lead to unwanted infestations such as snails, pathogenic fungi (chytrid), harmful nematodes, etc. which could affect the health of your plants, reptiles, amphibians, or other inhabitants.
Common Methods of Leaf Litter Sterilization
There are several methods to sterilize leaf litter, each offering different benefits depending on your specific needs. The goal of sterilization is to kill spores, bacteria, and pests through extreme temperatures. A good rule of thumb is to heat your leaves up to at least 140°F (60°C), at this temperature many pathogens such as chytrid or invertebrate pests cannot survive. Below are some of the most effective and widely used techniques to sterilize your leaf litter:
1. Boiling Water Method

The boiling water method is one of the simplest and most effective ways to sterilize leaf litter. By submerging leaves in boiling water, you can use heat to kill off pests while also mechanically cleaning the leaves of debris. I occasionally use this method as you can bulk process a decent amount of leaves, although it is cumbersome and can result in damaged leaves.
How to Sterilize Leaf Litter Using Boiling Water:
- Collecting your leaves: If collecting the leaves from the wild (examples include oak or magnolia leaves) ensure they are collected from an area where you know there is no pollution or pesticides. These days I often purchase leaves from Glassbox Tropicals, Frog Daddy, or other hobbyists due to the convenience and high quality leaves.
- Boil the Water: Bring a large pot of water to a boil. I usually use RODI or filtered water since I have it on hand although I’m sure tap water would be suitable.
- Submerge the Leaves: Place the leaves into the boiling water and let them boil for 5-10 minutes.
- Dry the Leaves: Remove the leaves and allow them to cool and dry. If in a hurry you could add in wet leaves as long as they have cooled.
| Pros: | Cons: |
|---|---|
| Highly effective | Boiling water can cause some leaves to break apart quicker |
| Simple and easy | Limited by the size of your pot |
| Relatively quick sterilization process |
2. Oven Sterilization Method

For larger quantities of leaf litter, oven sterilization is a convenient option. I stock up on dollar store baking trays and use these to hold the leaves, allowing me to process a large amount of leaves. Unfortunately, there are some downsides to this method, leaves will often end up brittle or “crispy” and may crumble quicker. Additionally, this method smells in comparison to using the other methods which may be a big con if your roommates or families don’t like the smell.
How to Sterilize Leaf Litter Using an Oven:
- Preheat the Oven: Set your oven to 200°F (90°C).
- Prepare the Leaves: Lay the leaves out on baking trays
- Bake the Leaves: Place the tray in the oven and bake the leaves for 20-30 minutes, checking occasionally to prevent them from becoming too dry or brittle.
- Cool the Leaves: After sterilization, allow the leaves to cool completely before using them in your vivarium.
| Pros: | Cons: |
|---|---|
| Efficient for sterilizing large batches of leaves | May cause leaves to dry out, leading to brittleness |
| Leaves retain their structure and appearance if monitored properly | Smells very woody |
| Requires a bit more time and attention than boiling |
3. Freezing Method
Some hobbyists also use freezing as a method for sterilizing leaves. I personally have never used this method, although it can make sense if you have space in your freezer. This method works by freezing any pests, mites, or eggs that may be present on the leaves.
How to Sterilize Leaf Litter Using Freezing:
- Freeze the Leaves: Place the leaves in a sealed plastic bag and leave them in the freezer for 48 hours.
- Thaw the Leaves: After freezing, allow the leaves to thaw and dry completely before adding them to your vivarium.
| Pros: | Cons: |
|---|---|
| Safer for delicate leaf varieties | Takes longer than other methods |
| Effective at killing insects, eggs, and larvae | Does not remove debris on the outside of leaves |
4. Sterilizing Leaf Litter With a Microwave

Microwaving leaves is my preferred method for sterilization. Although it is not the most efficient in terms of quantity, it is very quick and easy. There are a few things to note if you plan on microwaving your leaves. This method is the least consistent in terms of temperatures so burning leaves is a real risk. When I was dialing in this method I frequently stopped the microwave to check the temperature of the leaves with a temp gun. Due to the steam from the water I found pretty consistent temps above 140°F (60°C)
How to Sterilize Leaf Litter Using A Microwave:
- Prepare the leaves: Place your leaves in a microwave safe bowl, fill the bottom with some water and cover the leaves thoroughly with a wet paper towel.
- Microwave the leaves: Microwave leaves for 5-10 min checking frequently to ensure your leaves are not drying out or smoking. Note your microwave may be stronger or weaker and can require different times. This time is also dependent on how many leaves you plan on processing.
- Dry leaves: Remove leaves from the microwave using an oven mitt and allow the leaves to dry.
| Pros: | Cons: |
|---|---|
| Quick and easy | Requires dialing in and frequent checks |
| Ideal for small batches | Can potentially burn leaves; inconsistent heat |
| Quick sterilization process | Unable to process bulk quantities |
Best Practices for Using Sterilized Leaf Litter in Your Vivarium
I’m in the camp that believes you can never have enough leaf litter in your vivariums. I often top off my vivariums with fresh leaf litter whenever I’m in there trimming plants or when I notice some decaying leaves. Depending on your frogs you may have to do this more frequently. For example my P. terribilis require significantly more leaves than my Ranitomeya sirensis since they are constantly hopping on leaves and aiding in its erosion. Also, depending on how active your clean up crew is you may have to replace leaves more frequently.
Conclusion
Leaf litter sterilization is a critical step in maintaining a healthy and thriving vivarium environment. By eliminating harmful pathogens and pests, you create a safer space for your plants and animals to flourish. Whether you choose boiling water, oven sterilization, freezing, or microwaving, each method has its own advantages and disadvantages. I encourage you to try different methods and see what you prefer.